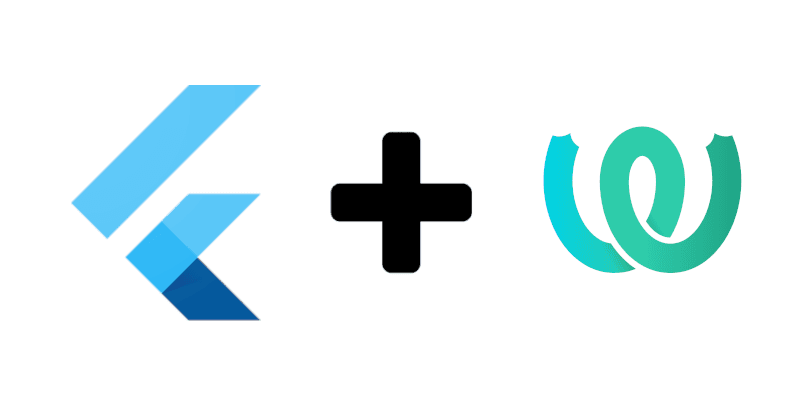
Localize your flutter app with Weblate
Looking for an open source localization service with flutter support ?
I'm Berker, an orchestra musician, bassoonist to be exact, a software developer specialized in flutter/dart and an amateur go player.
When I set out to find an open source localization service for Keyoxide Mobile, I couldn’t find many open source services with easy implementation and than I remembered codeberg announcing a translation service, a weblate instance. Since we host all our code on codeberg, I decided to check it out and I’m glad I did.

Weblate is a free, open-source web-based translation management system that enables collaborative translation of software, documentation, and other types of content. Keyoxide joins a growing number of projects on Weblate, including popular open-source projects like VLC media player, Nextcloud, and Django. It supports translation service suggestions such as DeepL to make translating a breeze.
When it comes to open source projects, Weblate is the go-to localization service. What makes it especially attractive for flutter developers is, there is an unofficial weblate sdk package in pub.dev which makes the integration very easy. The developer of the package @cozvtieg9 is incredibly responsive, he was able to fix a bug I encountered less then a few hours and helped me with the integration as well. He even implemented a feature request I made in less then 24 hours.
Enough talk, lets get to the code. First you need to have a weblate instance, if you don’t want to host a weblate instance yourself, I would recommend the codeberg instance. You can check the weblate docs for further info. Once you created your project and added your app as a component:
go to project > Manage > API access, from there hit the Teams tab on top. Create a new team and name it ‘Languages’ or whatever you want, don’t change anything else and hit Add button at the bottom.

Once you have your ‘Languages’ team, go to API access and create a project token, name it whatever you want, choose an expiry date. When you hit create, you will get to chose Teams, here we will un-select the Administration team and select the team we created before, in my case ‘Languages’. We don’t want our token to have admin privileges. Afterwards you copy the token somewhere safe, we will need it later.

Now go to profile > settings > API access tab and copy the API root URL we will need later on.
In the app first we will need to add localization support and the weblate_sdk package to our pubspec.yml file
 weblate_sdk: latest
 flutter_localizations:
     sdk: flutter
In our main function, we initialize the weblate_sdk. In my case the API root URL was https://translate.codeberg.org/api/ but https://translate.codeberg.org worked as well so if the root URL from weblate doesn’t work for you, remove the /api/ at the end and try again. If you need more info about the parameters, you can find it in the documentation.
  await WebLateSdk.initialize(
     token: 'the project token we created in step 2',
     host: 'API root URL from step 3',
     projectName: 'name of project',
     componentName: 'name of component',
     defaultLanguage: 'en',
     disableCache: false, //optional
     cacheLive: const Duration(days: 1), //optional
     fallbackJson: 'assets/default.json', //optional
   );
Next you just need to create a few strings in your component and use your localized strings in your code.
context.localizedValueOf('key')You can also use formatted strings
 context.localizedValueOf('key', format: ['John'])

 Note: To use formatted strings you should highlight the interpolated string with { }. For example: 'Welcome {username}!'
 Output: Welcome John!
That’s it really! Now you need to take your time and localize all the text in your app. Codeberg weblate instance has such a strong community that after adding my app, I got 8 languages translated at 100% in a week or so.
If you liked this article and want to know more about open source content for flutter, follow on Mastodon and Twitter.